How to Compress an Image Without Losing Quality
Reducing image file size without visible quality loss is one of the most common tasks in web design and content creation. This guide explains the techniques, best formats, and tools to use.
Why image compression matters
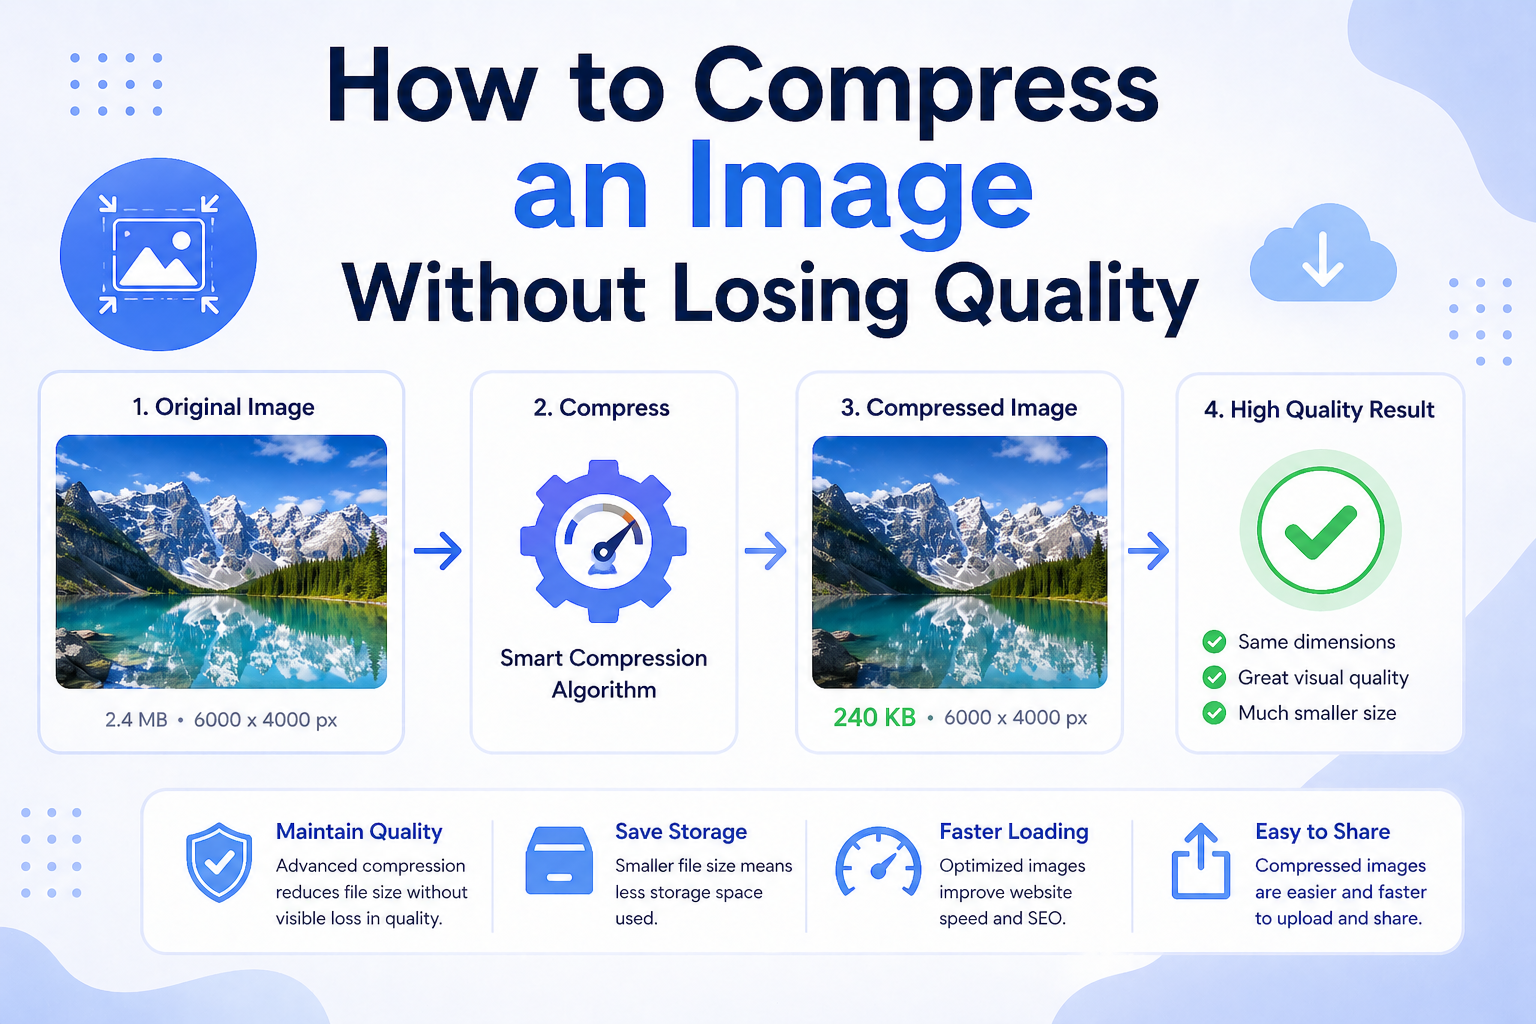
Large images are one of the biggest causes of slow-loading websites. A page that takes more than 3 seconds to load loses over 50% of visitors, according to Google data. Compressing images reduces file size — sometimes by 70–90% — without any visible change in quality for the end user.
Whether you are optimizing images for a website, reducing attachment sizes for email, or preparing photos for social media, understanding compression will save you time and bandwidth.
Lossy vs lossless compression
There are two types of image compression:
- Lossy compression permanently removes some image data to reduce file size. The reduction is large (often 60–80%), and the quality loss is usually invisible at normal viewing sizes. JPEG uses lossy compression.
- Lossless compression reduces file size without removing any data — the image can be perfectly reconstructed. The reduction is smaller (typically 10–30%). PNG and WebP support lossless compression.
For most web and social media use, lossy compression at a quality setting of 75–85% produces excellent results with file sizes 5–10× smaller than the original.
Best formats for compressed images
WebP is the best format for web images in 2026. It supports both lossy and lossless compression and produces files 25–35% smaller than JPEG at equivalent quality. All modern browsers support it.
JPEG is the standard for photographs. Use quality settings between 75 and 85 for a good balance between size and clarity. Going below 70 introduces visible artifacts.
PNG is best for images with sharp edges, text, logos, and transparent backgrounds. Because it uses lossless compression, PNG files are larger than JPEG for photographs — avoid using PNG for photos.
How to compress an image without losing quality
- Choose the right format first. For photos: use JPEG or WebP. For graphics with transparency: use WebP or PNG. Matching the format to the content type is the single biggest factor.
- Resize before compressing. If your image is 4000×3000px but you only need 1200×800px, resize it first. Fewer pixels means a smaller file before compression even starts.
- Set quality between 75–85% for JPEG and lossy WebP. This is the range where the human eye cannot detect quality loss on screens.
- Use a browser-based tool like the image compressor on ConvertWiki to compress JPG or PNG files instantly with no upload limits or signups.
- Compare before and after. Open both files at 100% zoom. If you cannot see a difference, the compression level is correct.
How much can you compress an image?
Results vary by image content, but as a general guide:
- A 2MB JPEG photograph → 200–400KB at 80% quality with no visible loss
- A 500KB PNG logo → 80–150KB when converted to WebP lossless
- A 1MB screenshot → 150–300KB as compressed PNG or WebP
Tools to compress images for free
ConvertWiki offers free browser-based tools for image compression with no signup required:
- Compress JPG online — reduce JPEG file size with adjustable quality
- Compress PNG online — lossless PNG compression
- Compress image online — works with JPG, PNG, and WebP
- Convert to WebP — convert any image to WebP for maximum compression
Summary
The most effective approach to compress images without losing quality: convert to WebP, resize to the display dimensions you actually need, and apply lossy compression at 75–85% quality. For transparent images, use lossless WebP or optimized PNG. You can do all of this directly in the browser using free tools — no software installation needed.